Before you start (macOS)
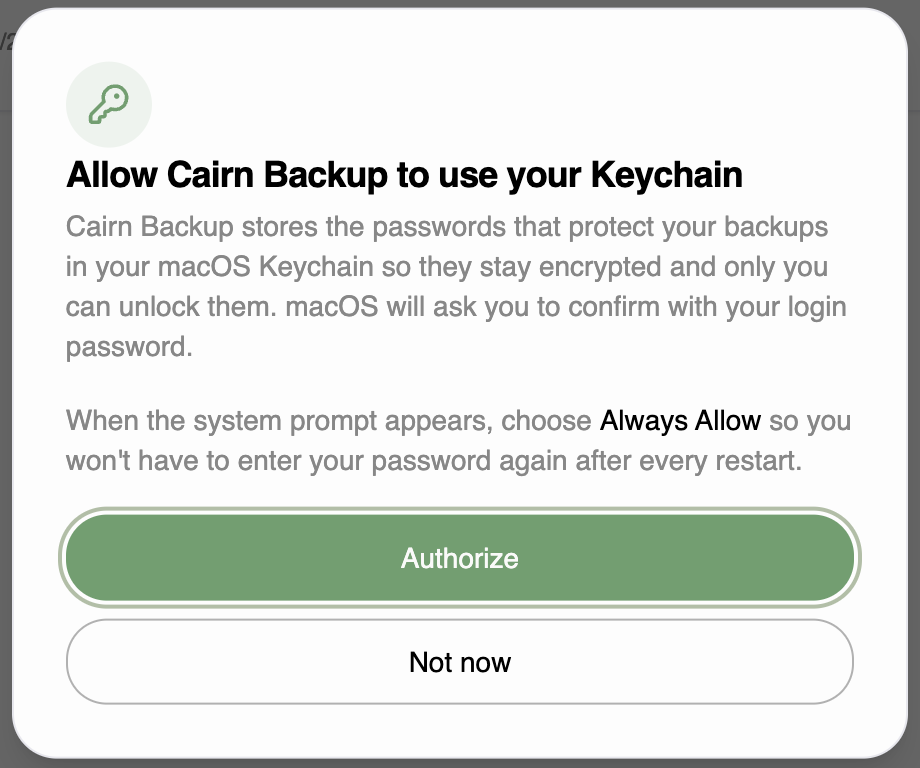
On first launch, {{PRODUCT_NAME}} asks macOS for permission to use your Keychain. Choose Always Allow to avoid having to re-enter your user password after every reboot.
1 · Set up your first backup
A backup job answers three questions: what to back up, where to send it, and how often. The walkthrough that opens on first launch covers all three.
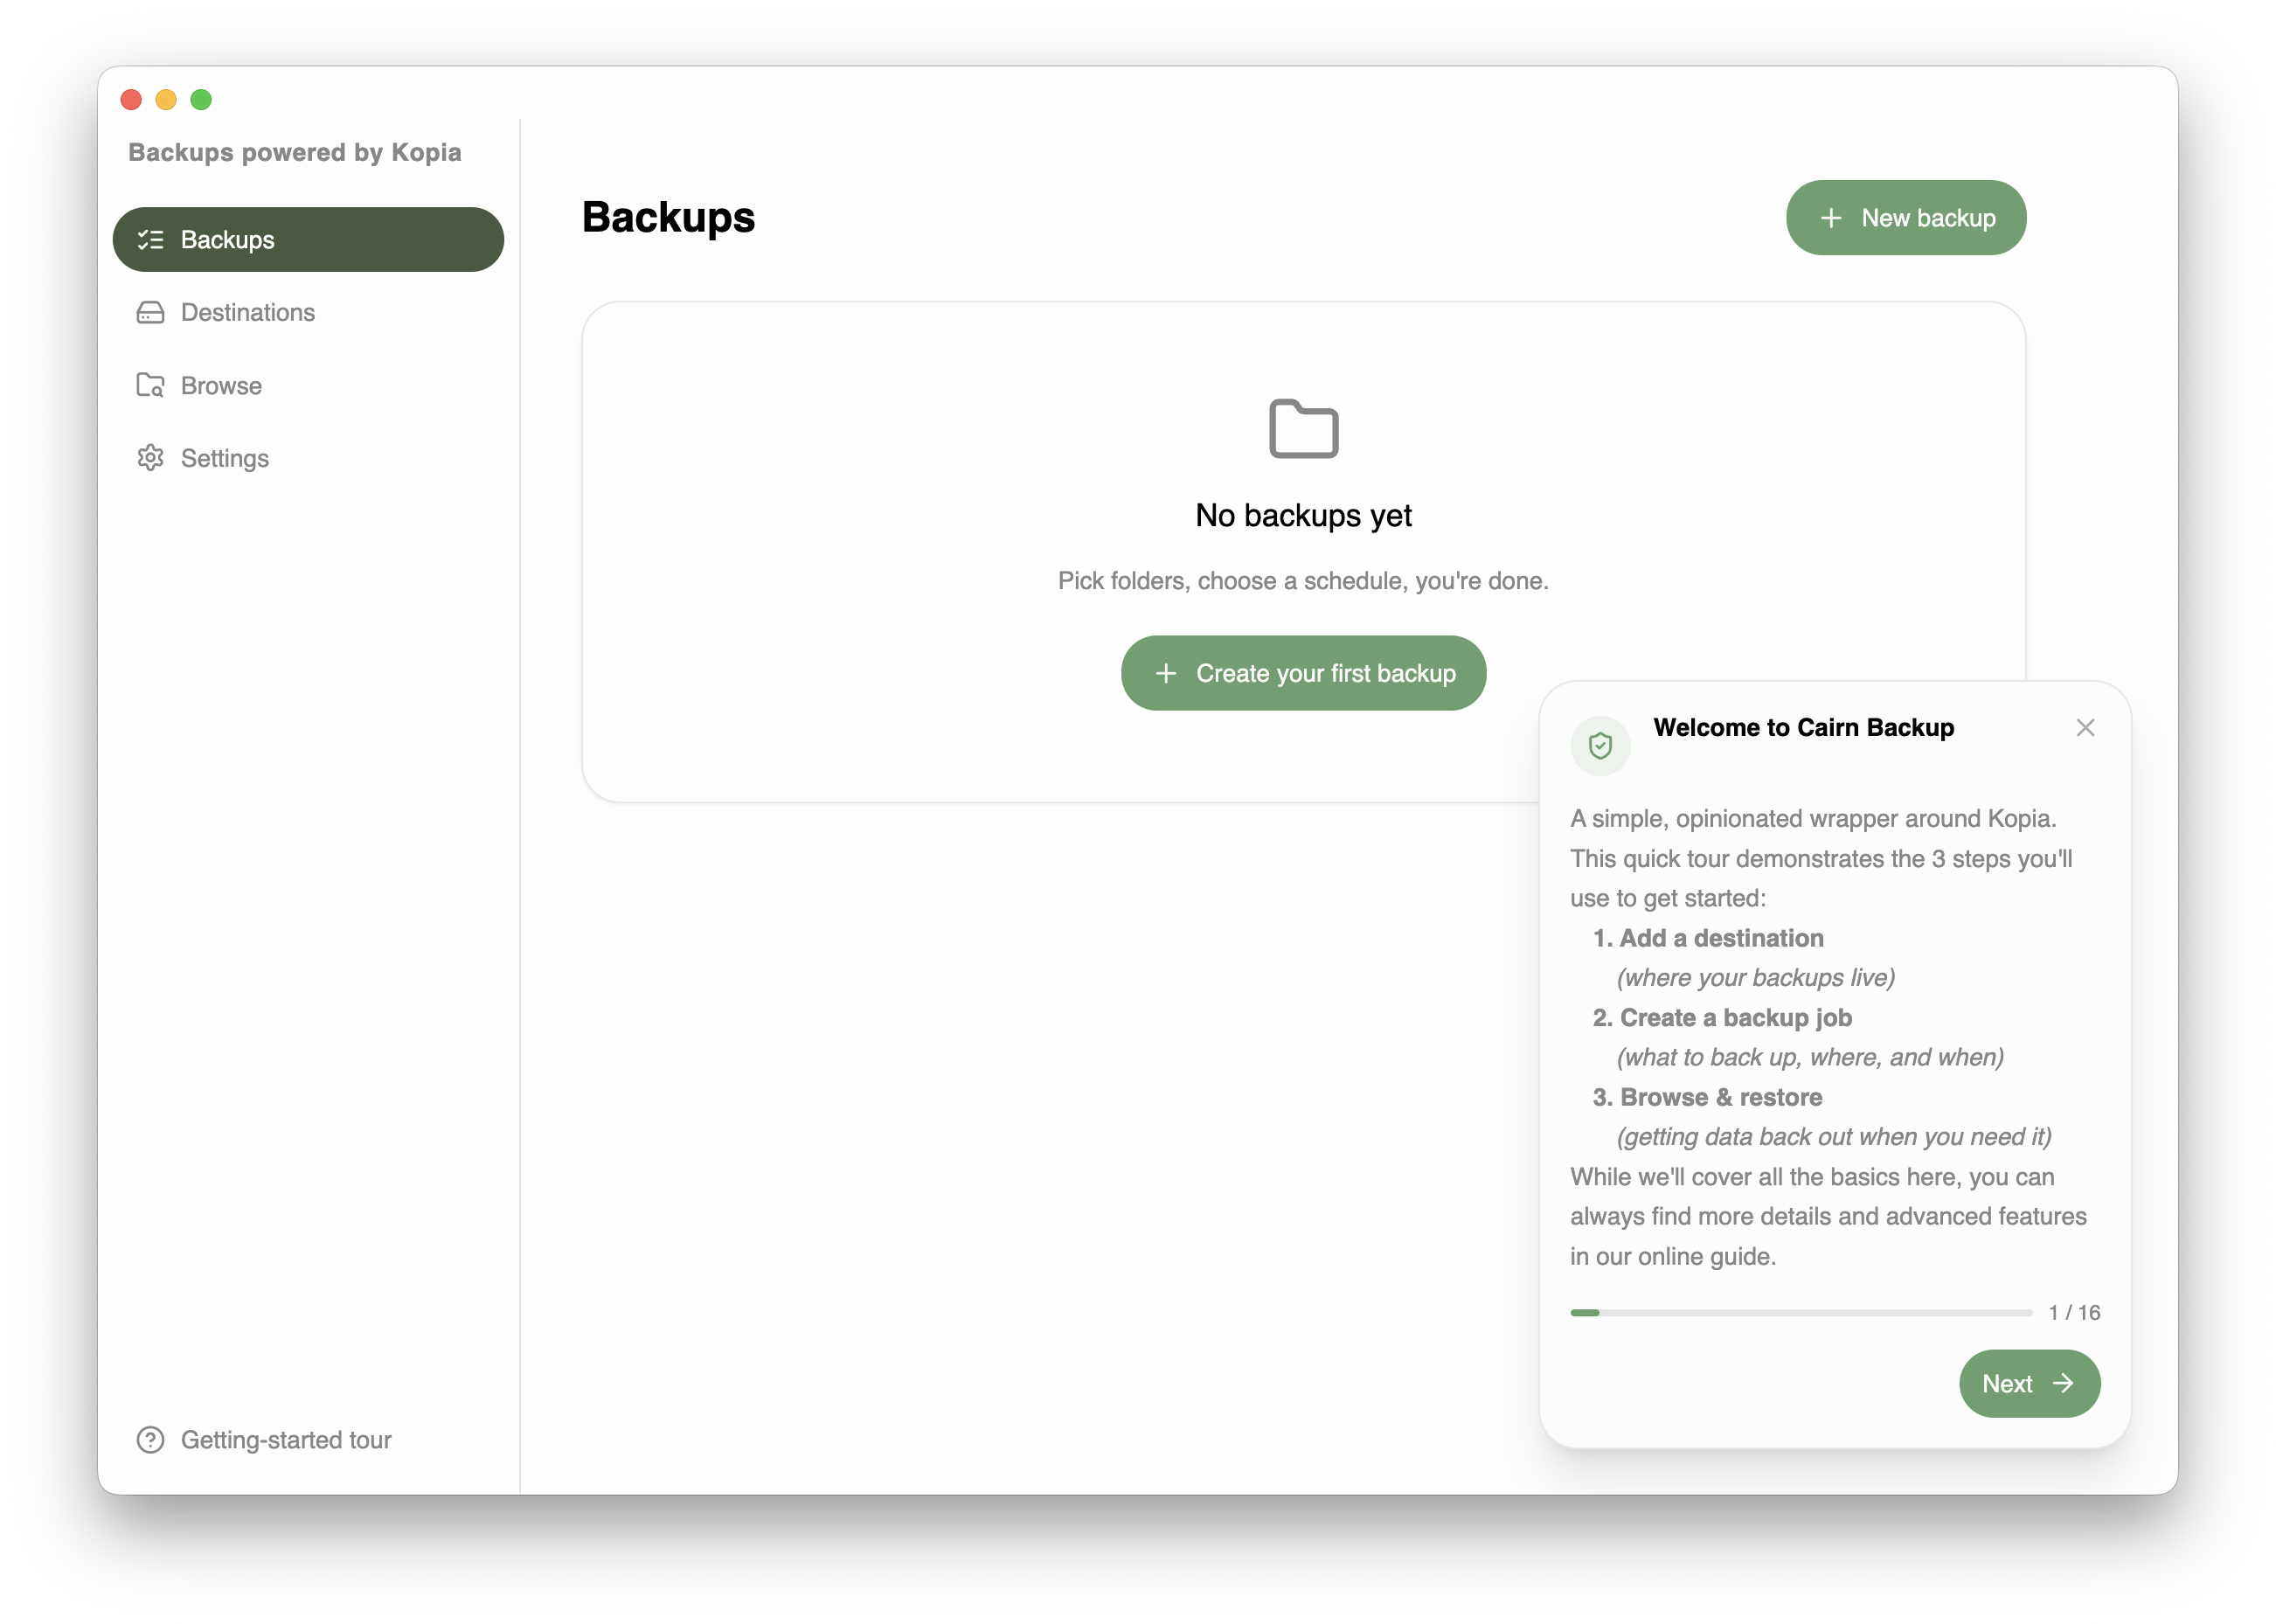
- Add a destination first. Open Destinations and add at least one place to store backups (drive, cloud, or server). See section 2 for each type.
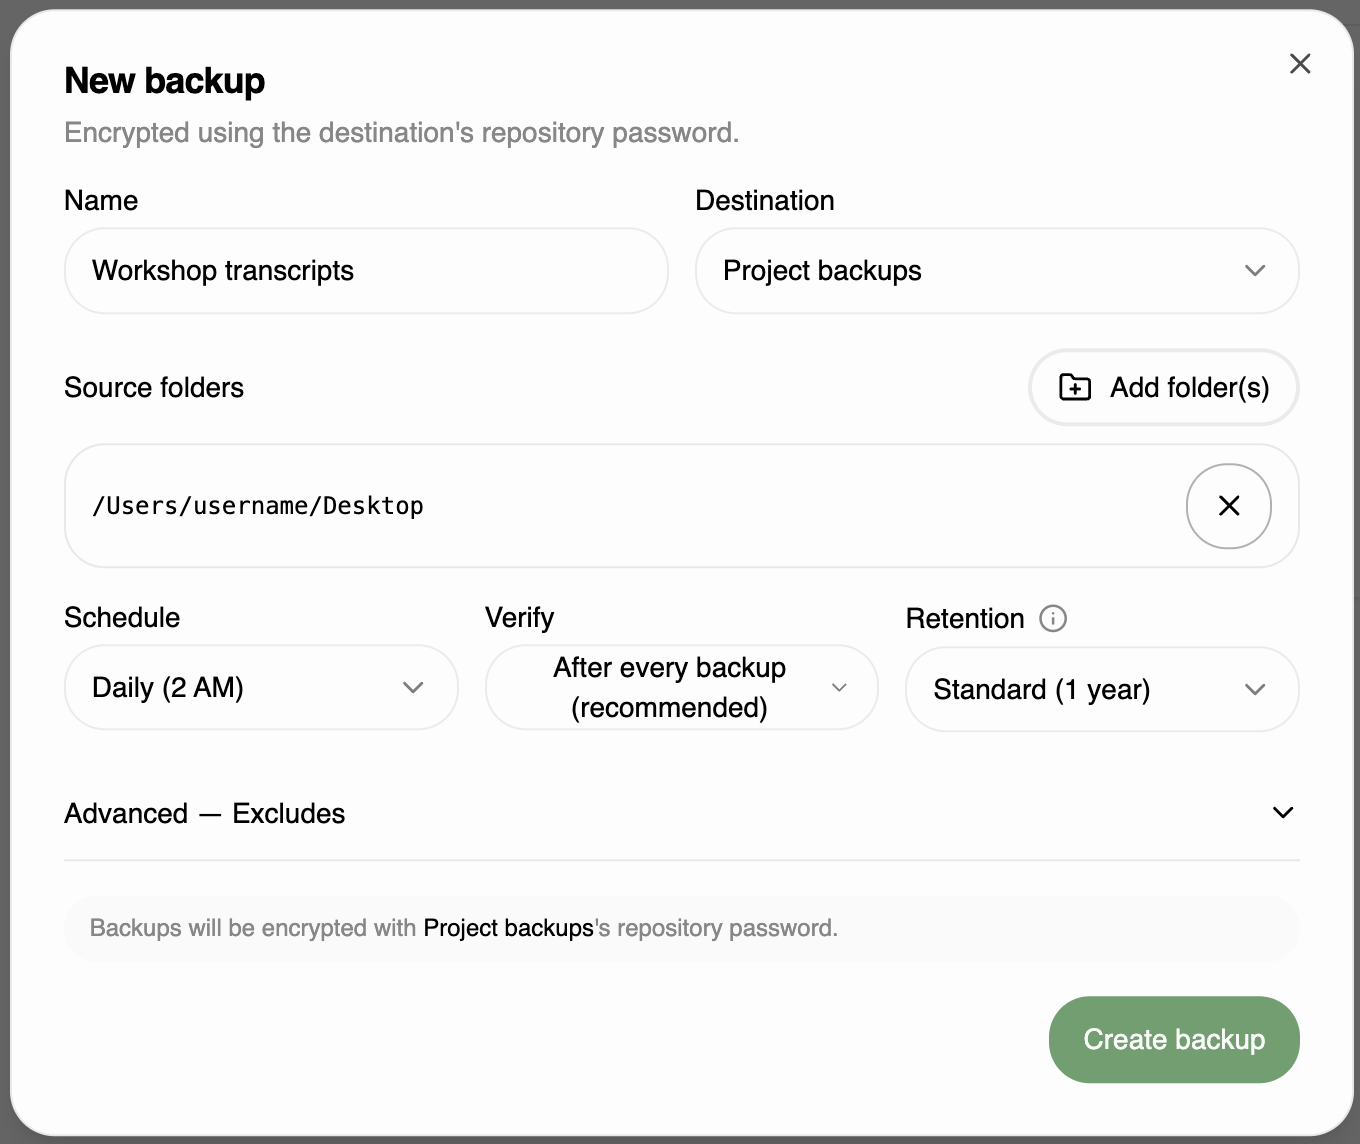
- Create a backup. On the Backups page, click New backup, give it a name, and choose the destination you added previously.
- Pick your sources. Add one or more folders to protect — your documents, a project directory, your whole home folder.
- Choose a schedule. Manually triggered, Hourly, Every 4 hours, Daily, Weekly, or Monthly. {{PRODUCT_NAME}} runs quietly in the background on whatever schedule you pick.
- Set verification. Leave it on “After every backup” (recommended): {{PRODUCT_NAME}} checks each new snapshot's integrity and test-restores a recently-changed file to compare against the original, so you can be sure it really works. You can also run a thorough Deep Verify any time — see section 4.
- Pick a retention preset. Standard (1 year) suits most people. Choose Short, Long, or Forever if you need a different history depth.
- Trim what's excluded. Toggle presets for caches, temp files, and build artifacts so backups stay lean. You can also define your own patterns.
- Save and run. Click Run now for the first backup, then let the schedule take over.
2 · Destinations & configuration
A destination is a place your encrypted backups live. Add as many as you like and point different backups at different destinations. Every destination is protected by a repository password and a sensitivity tier you choose when you create it.
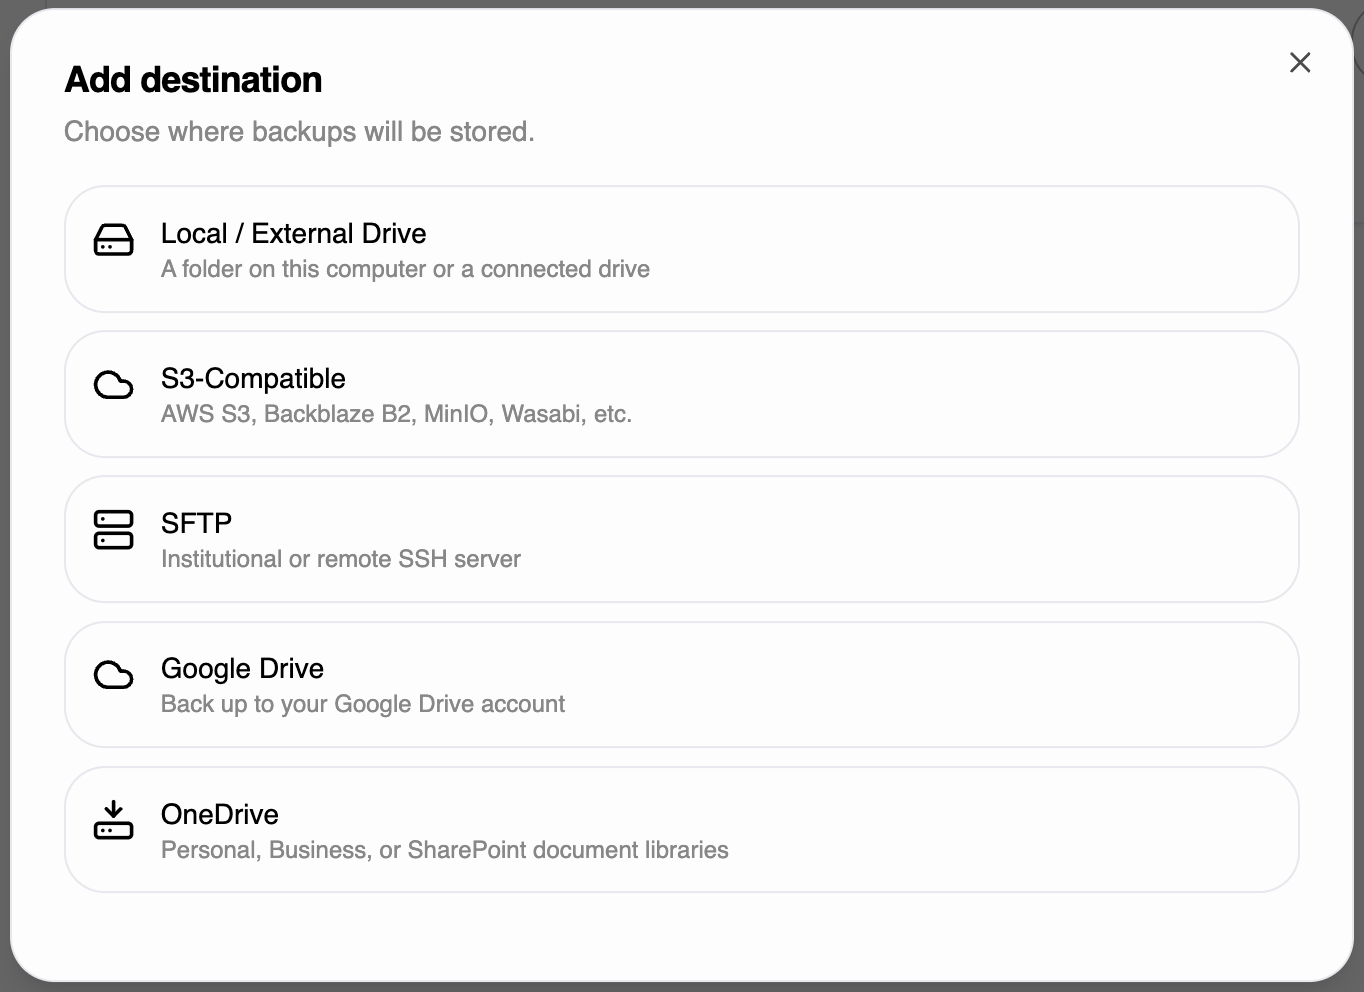
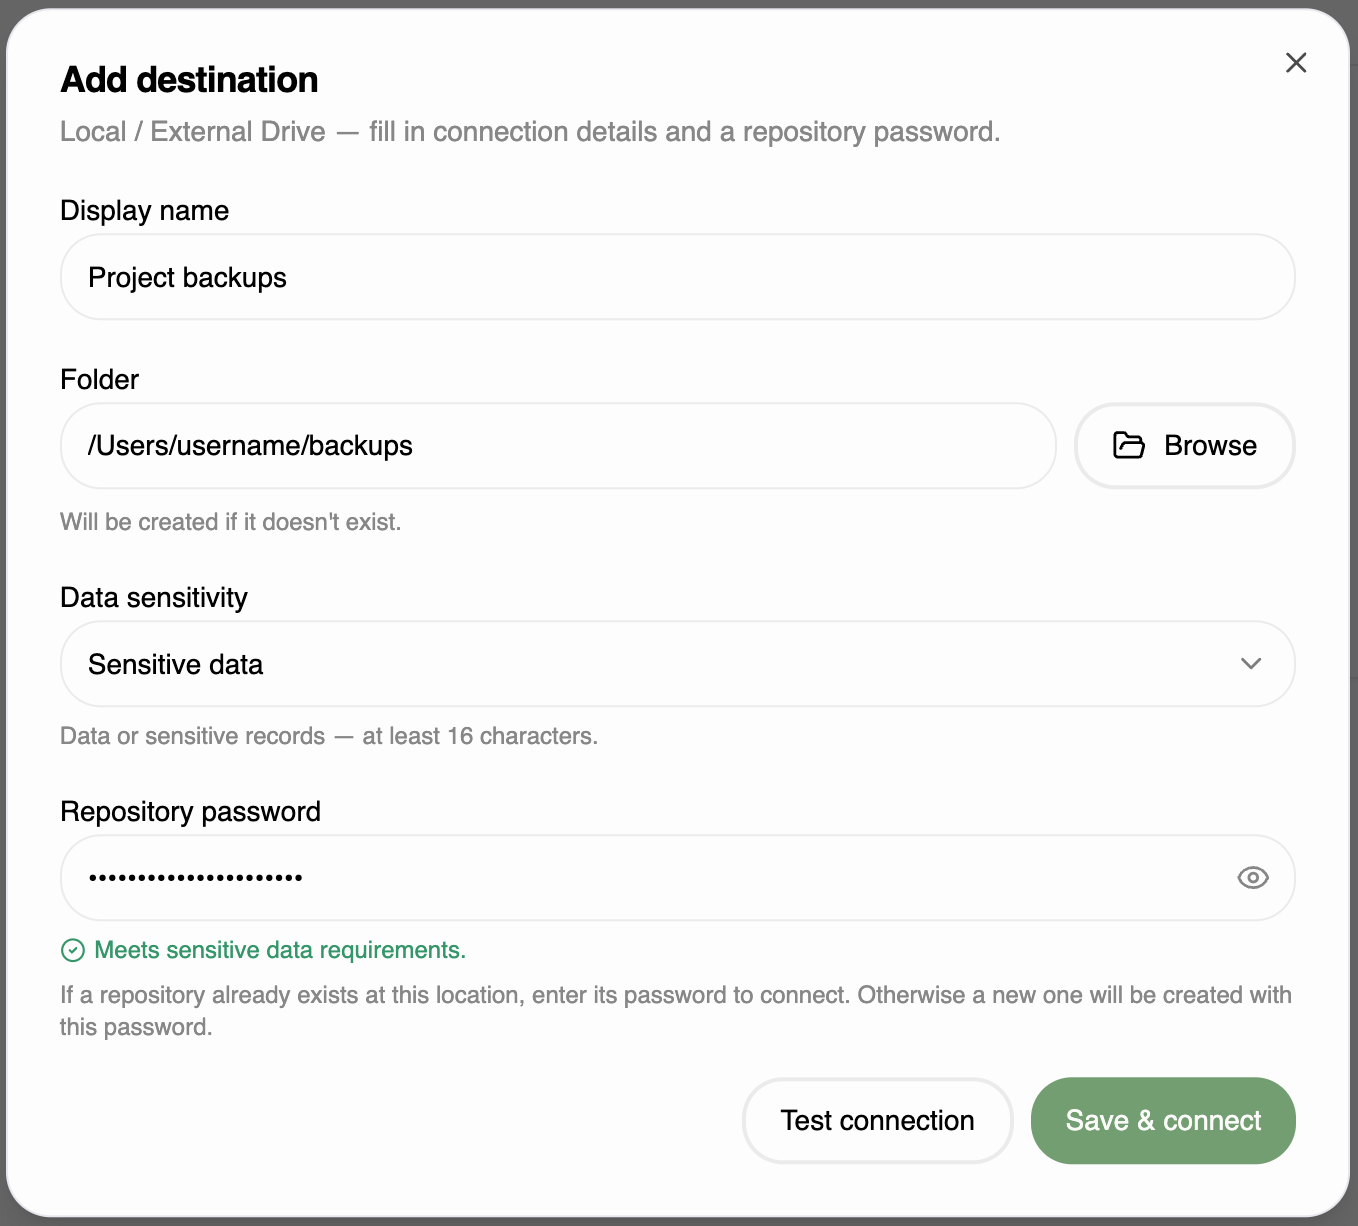
Local or external drive
The simplest option: a folder on your computer or a connected USB / external drive.
| Field | What to enter |
|---|---|
| Folder path | The directory to store backups in, e.g. an external drive. |
S3-compatible (AWS S3, Backblaze B2, Wasabi, MinIO…)
Works with any S3-compatible object storage. Backblaze B2 and Wasabi are popular, low-cost choices.
| Field | What to enter |
|---|---|
| Bucket | The bucket name that will hold your backups. |
| Endpoint | Optional. The provider's endpoint (leave blank for AWS S3; set it for B2 / Wasabi / MinIO). |
| Region / Prefix | Optional. Region and an optional path prefix inside the bucket. |
| Access key ID / Secret | Your credentials. Stored securely on your device, separate from the rest of the config. |
SFTP server (institutional / SSH)
Ideal if your department or university gives you SSH/SFTP storage.
| Field | What to enter |
|---|---|
| Host / Port | The server address and port (usually 22). |
| Username / Path | Your login and the remote folder to store backups in. |
| Authentication | Choose Password or SSH key, then provide the password or private key accordingly. |
Google Drive
Sign in once and {{PRODUCT_NAME}} stores backups in a folder you choose.
- Pick Google Drive and start the sign-in. A browser window opens for Google's secure consent.
- Approve access; the authorization is stored locally on your device.
- Optionally set a subfolder and a label, then test and save.
OneDrive
Supports personal, work/business, and SharePoint document libraries.
- Pick OneDrive and sign in through the Microsoft window that opens.
- If your account has more than one drive, choose which one (personal, business, or a document library).
- Optionally set a subfolder and label, then test and save.
3 · Restoring backups & files
Open Browse to explore everything you've backed up — by destination or by backup — and bring any of it back.
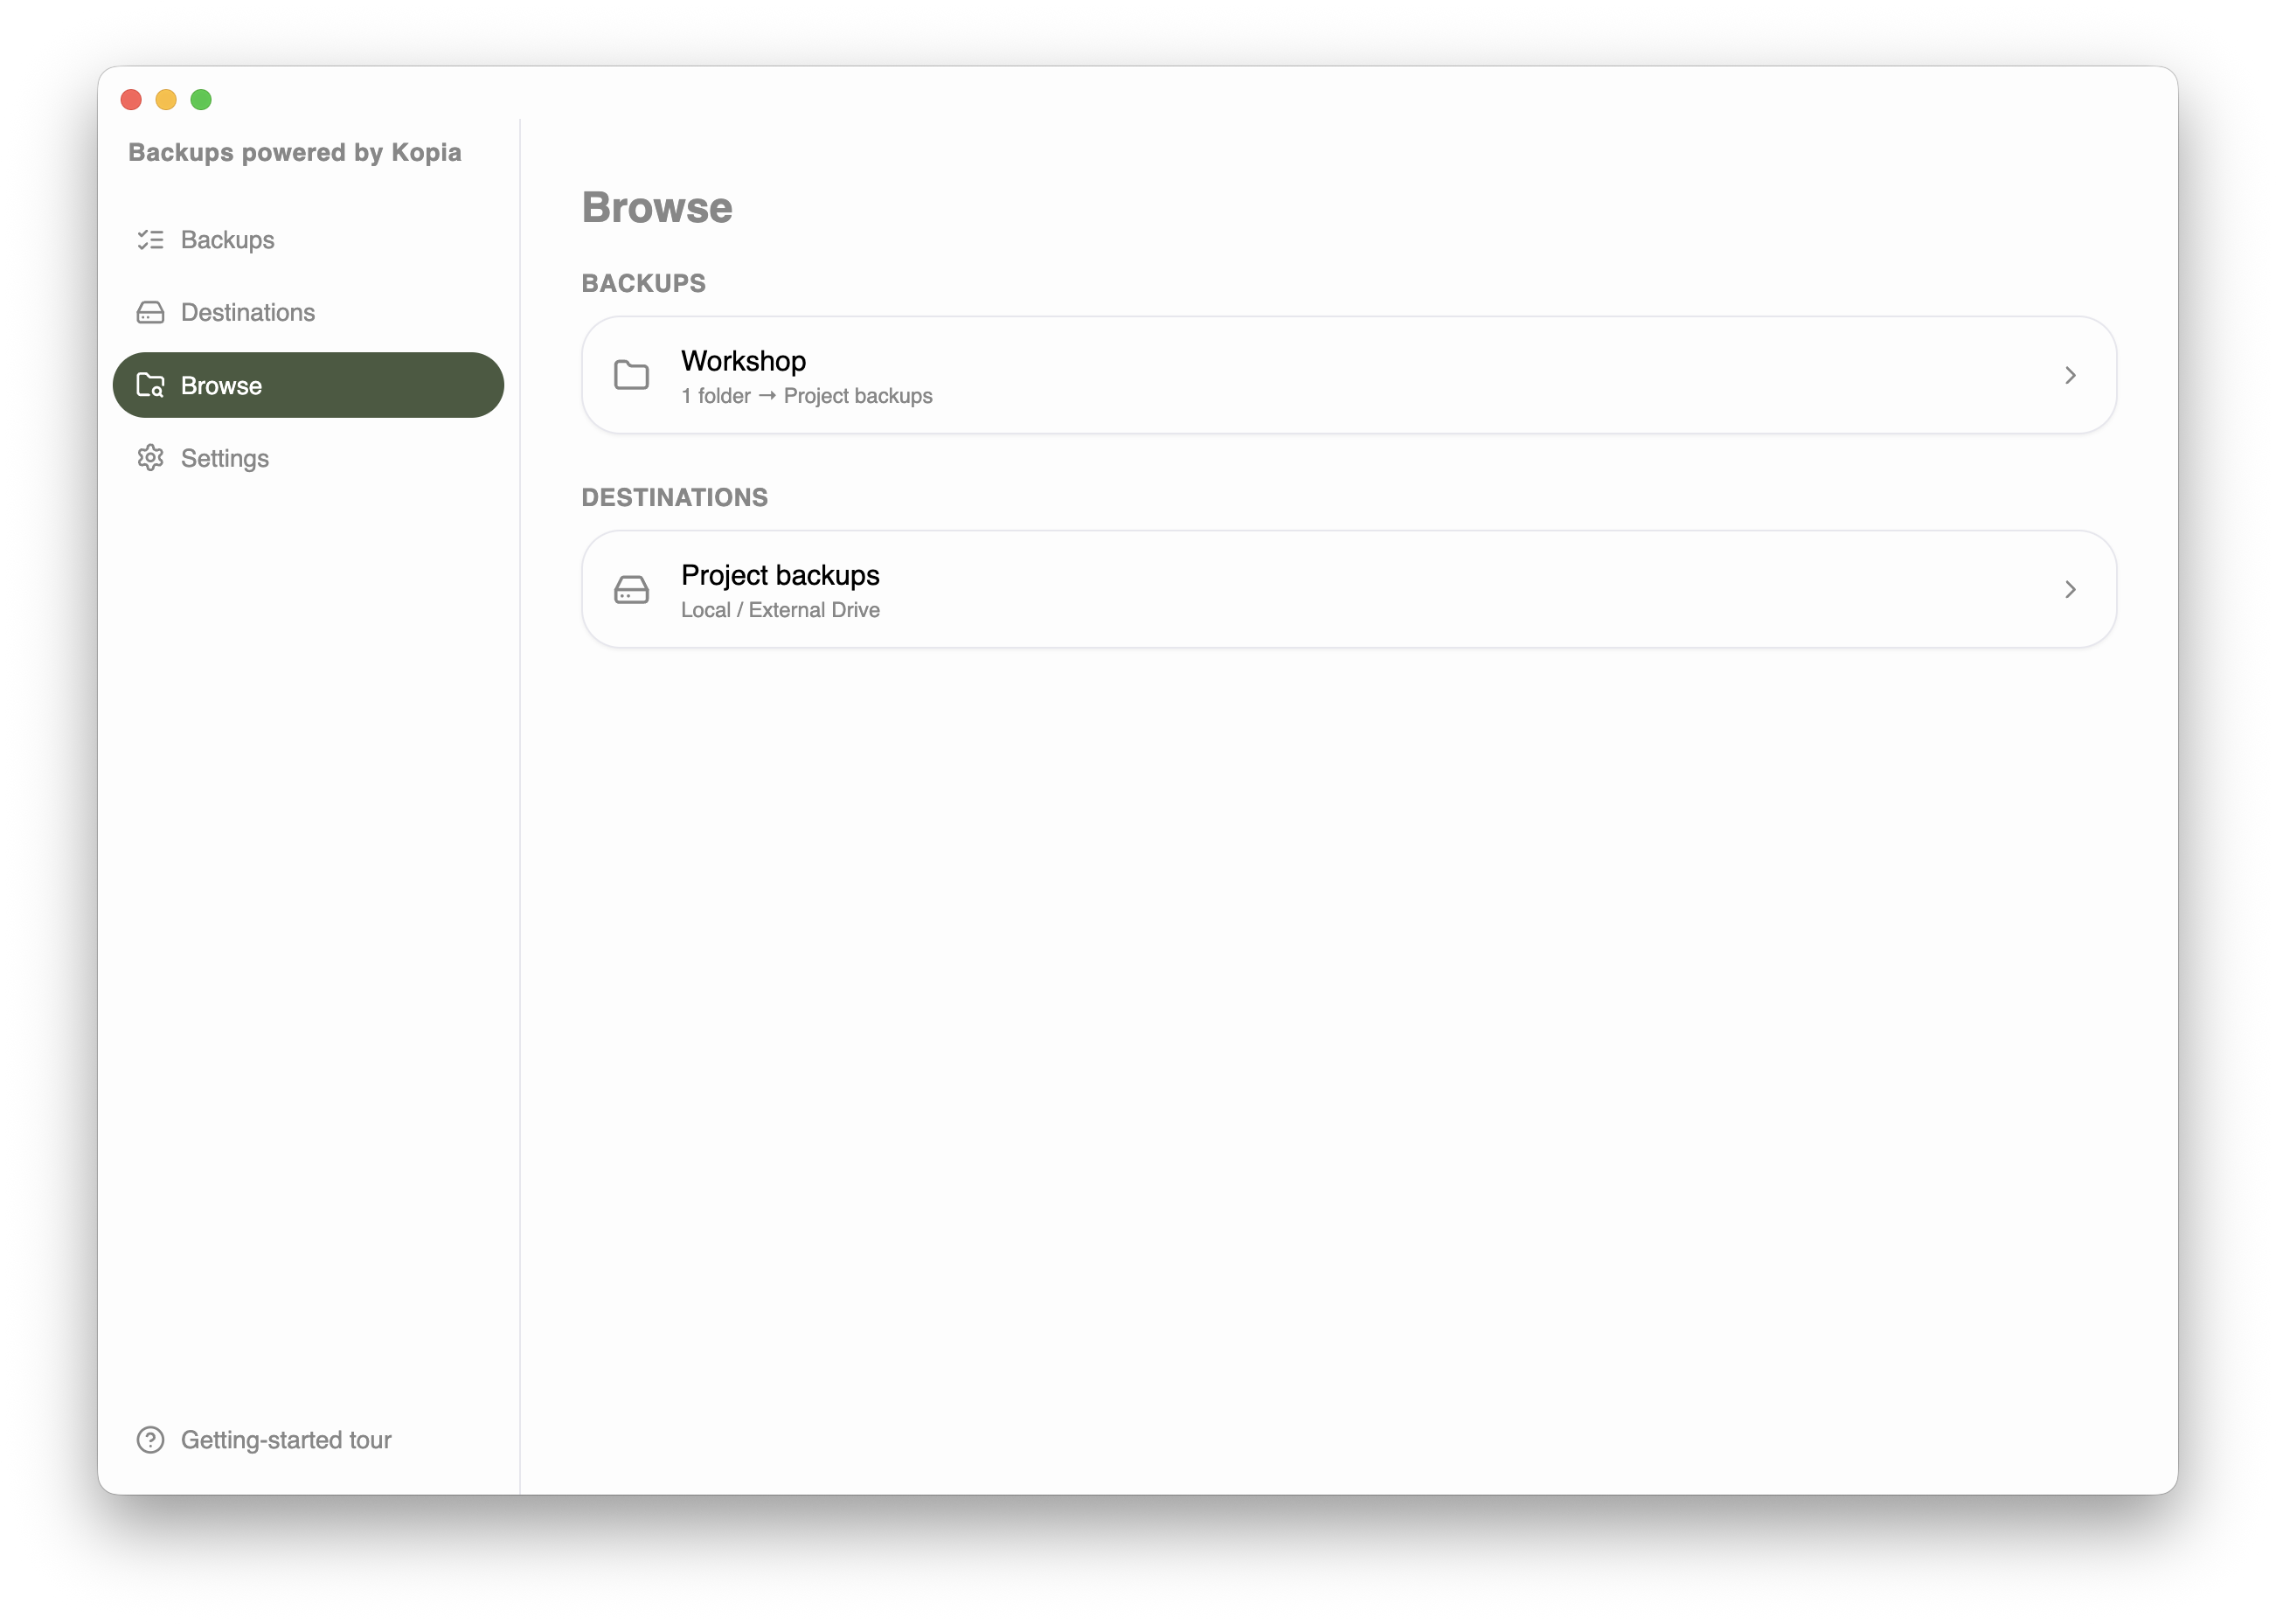
Pick a point in time
Select a snapshot — any past backup — or the live “Current files” view to compare what's on disk now against what's backed up. You can filter to just changed files, show hidden files, and sort by name or date.
Restore a whole backup or a single file
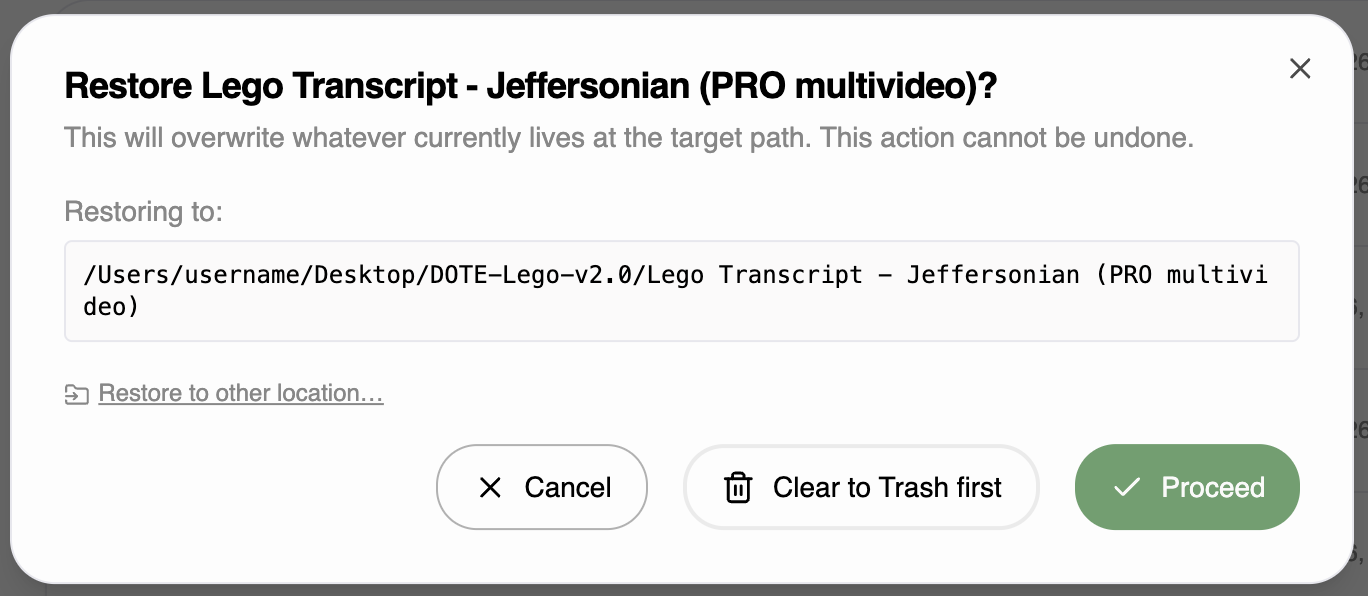
Navigate to any file or folder, then choose Restore. Folders restore recursively, so a single action can bring back an entire project — or your whole source folder.
Original location, or somewhere new
| Option | What happens |
|---|---|
| Original location | Restores files exactly where they were. Optionally move the existing copy to the Trash / Recycle Bin first, so nothing is overwritten in place. |
| New location | Pick any folder and {{PRODUCT_NAME}} drops the restored files there — handy for comparing or recovering without touching current work. |
4 · Verification & integrity
A backup is only useful if it actually restores. {{PRODUCT_NAME}} doesn't just assume your backups are okay — it tests if your snapshots are intact, and warns you if they aren't.
Automatic checks after every backup
With verification on “After every backup”, each backup run is followed by two independent checks:
| Check | What it proves |
|---|---|
| Integrity check | Confirms the new snapshot's structure and metadata are complete and consistent in the repository — nothing missing or corrupt. |
| Restore-and-compare | Picks a recently-changed file at random, restores it back out of the encrypted repository, and compares it to the original on disk. This proves an end-to-end round trip really works. |
Deep Verify, on demand
When you want stronger assurance — before relying on a backup — click Deep Verify on any backup and choose how thorough to be:
| Scope | What it does |
|---|---|
| Latest snapshot | Re-downloads and hash-checks every file in the most recent backup. |
| Entire history | Hash-checks every file across every retained snapshot. Shared data is checked only once, so this is less bandwidth than the sum of all snapshots. |
| Entire history (structure only) | Checks every snapshot's structure without downloading file contents — a fast, minimal-bandwidth integrity sweep of your whole history. |
Deep Verify streams live progress and can be cancelled at any time.
Reading the status
| Status | Meaning |
|---|---|
| Backed up | Verified intact, and your local files match the latest snapshot. |
| Modified | The backup is fine, but local files have changed since the last snapshot — might be time for another backup. |
| Damaged | A check failed. Hover over icon for the reason; the latest snapshot may be incomplete or corrupt. |
| Unverified | A check ran but couldn't reach a clear yes/no (for example, it was cancelled). Re-run a verify to resolve. |
Small badges appear for each kind of Deep Verify you've completed, with the date of the last run provided when hovering over the badge — so you can see at a glance how thoroughly, and how recently, a backup has been proven.
5 · Settings
Tune the app once and forget it. Settings live in three places: the app itself, each backup, and each destination.
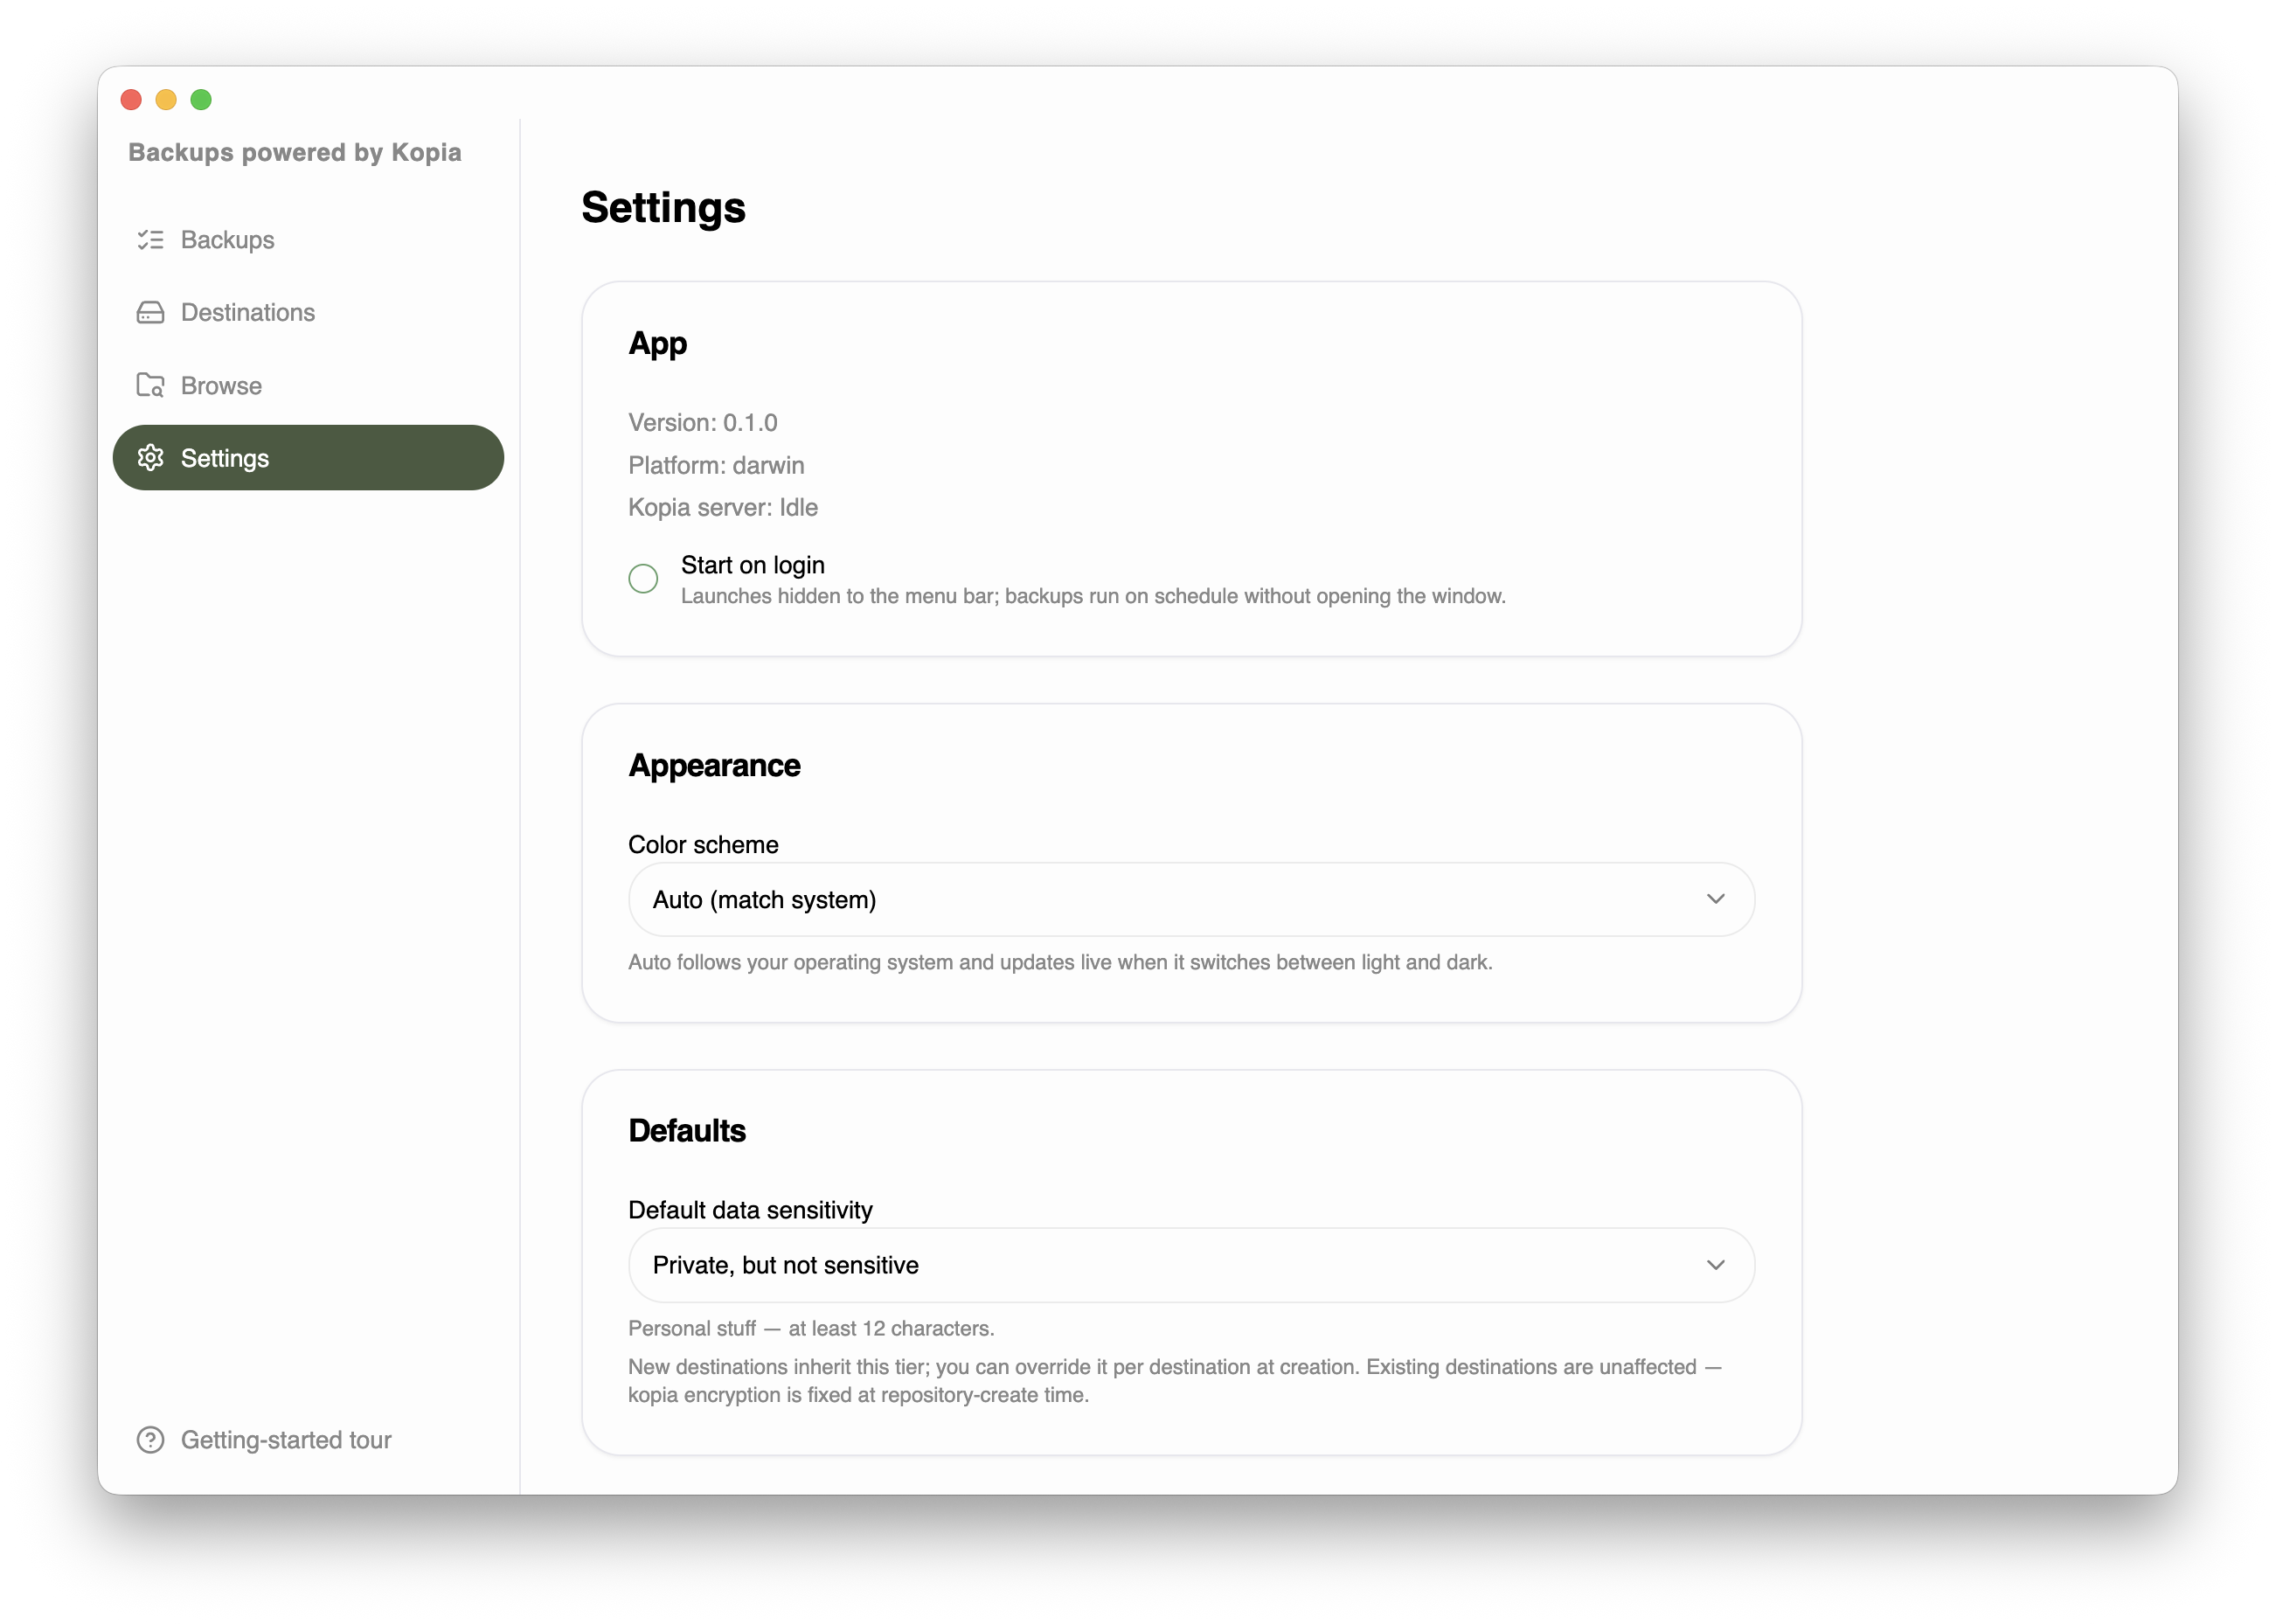
Application settings
| Setting | What it does |
|---|---|
| Default sensitivity tier | The tier pre-selected for new destinations. Existing destinations are unchanged. |
| Start on login | Launch {{PRODUCT_NAME}} quietly to the menu bar / tray when you sign in, so scheduled backups always run. |
| Engine updates | Check for and install updates to the underlying Kopia engine. The app itself also auto-updates. |
| Navigate into removed directories | Advanced: lets you browse into deleted folders to recover their old contents. |
| Logs | View application logs if you ever need to troubleshoot or share details for support. |
Per-backup settings
Edit any backup to change its sources, schedule, verification frequency, retention preset, and exclude rules — or pause, run, verify, and delete it. Deleting a backup leaves the snapshots already on the destination intact.
Per-destination settings
Rename a destination, update its repository password (within the same sensitivity tier), and re-test its connection. Reachability is shown live and refreshes when you return to the app.
Ready to protect your work?
Download Cairn and set up your first backup in a few minutes.
Download free